basic beef stew

20151017_200334(0)

Stewing beef, or any other meat basically can be broken down into two steps, reducing the stew and then simmering until the end. There are loads of variation on how to prepare beef stew, but what i’m showing here will be the most basic stuff which after you have mastered can be taken into the next level.

Ingredients (Serves 4)

for the beef

a kilo of cubed beef chuck (chuck is used because it is one of the toughest meat on a cow, suitable for long cooking that stewing involved)

all-purpose flour/wheat flour (enough to cover the meat)

white pepper powder (enough to cover the meat)

paprika powder (enough to cover the meat)

for the stew

2 tablespoon of butter

a tablespoon of cornflour/cornstarch

2 litres of beef stock

one large onion, diced

a tablespoon of tomato paste/puree

4 medium carrots, cut into small pieces

3 large russet potatoes, peeled and cut into golf ball pieces

4 celery stalks, cut into small pieces

2 bay leaves

a teaspoon of dried rosemary

a teaspoon of dried parsley

salt & freshly ground black pepper

Mix the flour, white pepper and paprika powder in a bowl and coat the beef entirely. Pan fry the beef on a skillet until brown on all side. Transfer to a plate and set aside.

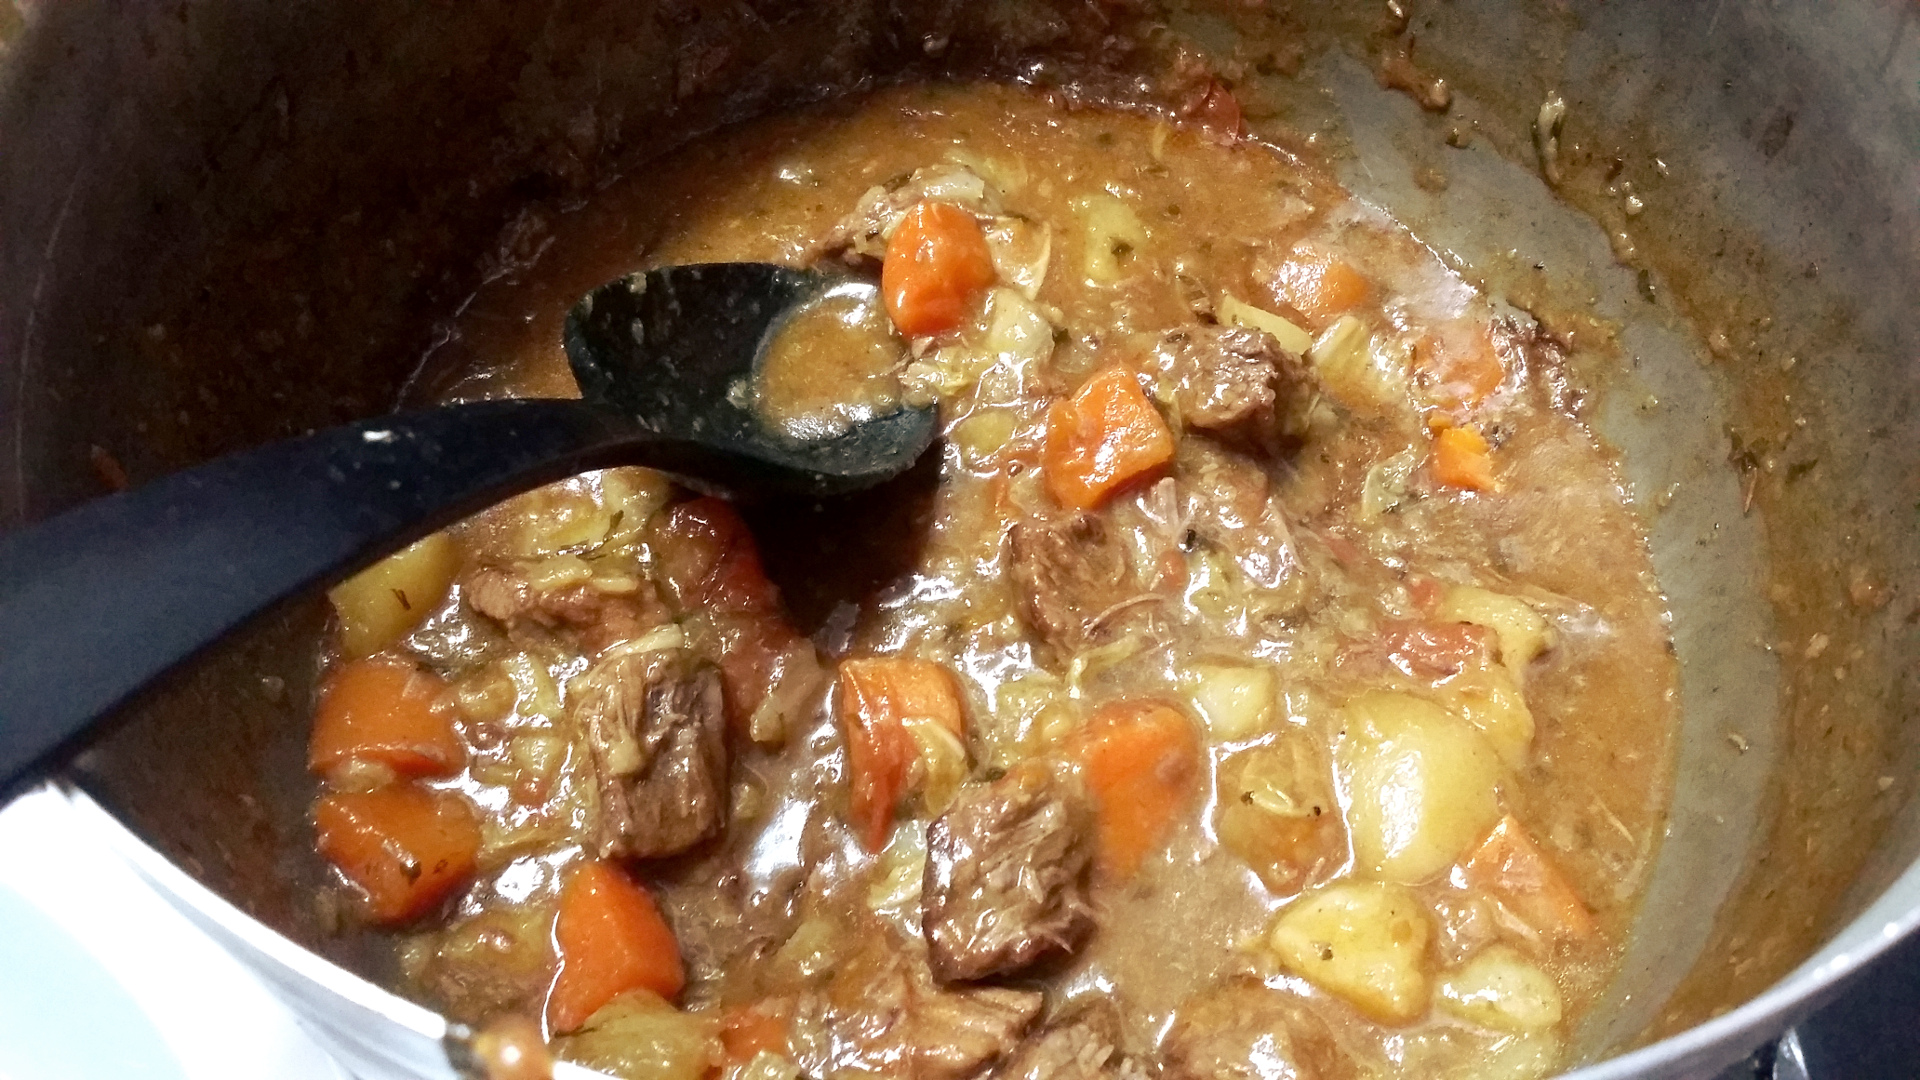
Melt butter in a large deep sauce pan or pot. Cook the onion until lightly browned. Then add the tomato paste and cook while stirring for about a minute. Then stir in the flour, and cook until the flour had absorbed the liquid inside the pan. Immediately deglaze with a litre of the beef stock and bring to a simmer. Add the beef, the bay leaves, rosemary and parsley and let reduce the liquid for about an hour. It the liquid has reduced to much before the hour mark, add a cup or two of water. Once the stew has reduce, add in the remaining beef stock, season with salt and pepper and stir in all the remaining vegetables including the potatoes. Cover the pan and continue simmering for another hour.

About 15 minutes until the final hour mark, finish off with a dash of lemon juice and check the seasoning. Add more salt and pepper to your desire. If you want a thicker broth, leave that final 15 minutes of simmering with the cover off, otherwise return the cover to the pan.

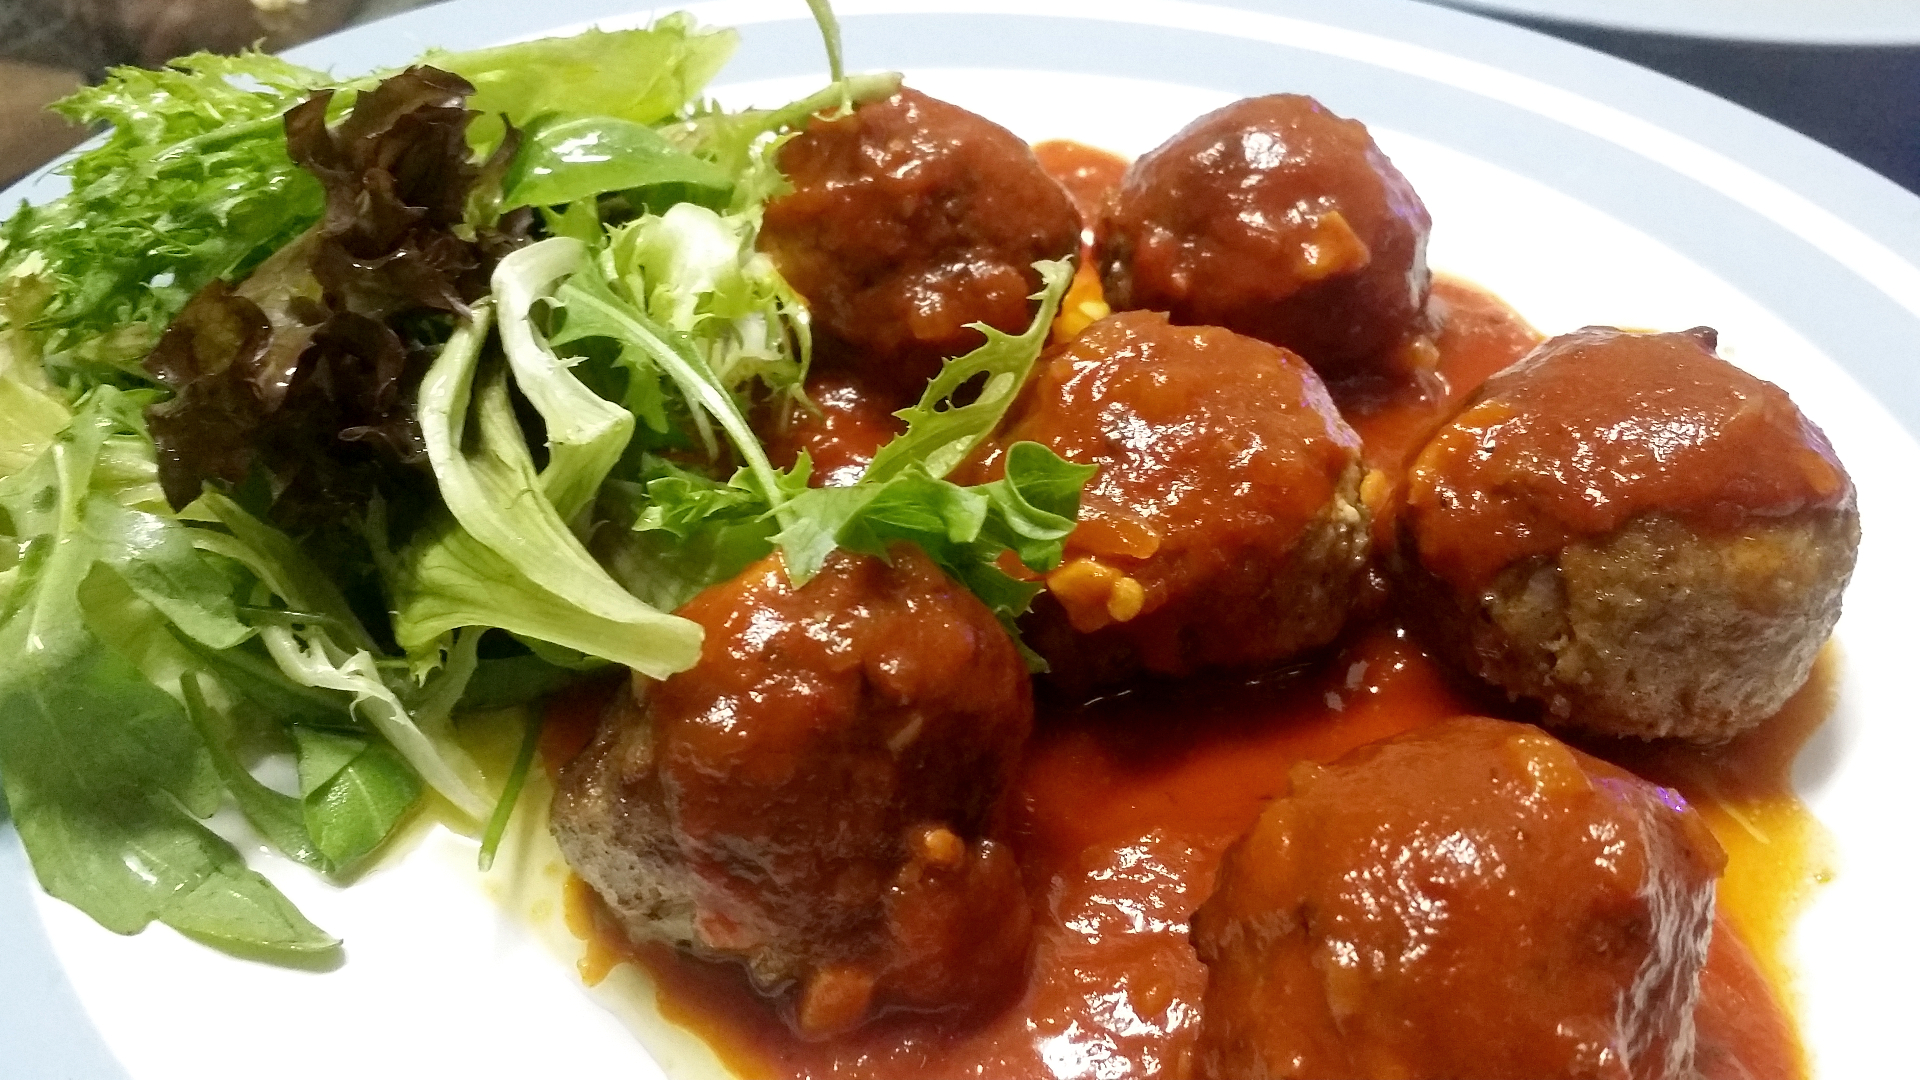
Serve with bread, baguette or own its own. Marvelously delicious!

20151017_200240

baked meatball with tomato sauce

20150922_202951

Despite its simple form and style, there are considerably some efforts needed to prepare this. First off, prepare the meatball. Here’s how.

Then prepare the tomato sauce. Here’s how.

Finally, pre-cook the meatballs halfway on a pan (by pre-cook I mean half-way or ¾ way since they will be baked inside the oven later). Prepare a square baking dish, pour the tomato sauce into the dish, place the meatballs in, top with some sliced cheddar or grated parmesan or shredded mozzarella and bake until the cheese has melted, about 15 to 20 minutes. Serve with bread.

Perfect for a lazy night of cooking. (provided the meatballs are prepared earlier and making the tomato sauce is no longer considered as troublesome chore)

roasted tomato soup

There are many variations on how to prepare tomato soup, and by far, this is my most favourite and the easiest with the least ingredients. I love serving this with baguette, the crunchy outer texture compliments the rustic taste of the soup.

Serves 4

1kg ripe cherry tomatoes

4 large tomatoes

4 cloves of garlic

4 tablespoons balsamic vinegar

2 small red onions

a small bunch of fresh basil

extra virgin olive oil

salt and freshly ground black pepper

Prepare a medium roasting tray. Preheat oven to 220 degree C. Quarter the large tomatoes and together with the cherry tomatoes, put all into the roasting tray. Drizzle over a good lug of olive oil season with salt and pepper. Crush and peeled the garlic and toss into the roasting tray. Put in the oven for 12 to 15 minutes.

In the meantime, peel and roughly chop the onions and put in a hot saucepan with a few lug of olive oil and a pinch of salt. Sweat the onion for a few minutes without browning over low heat. Stir the balsamic vinegar, turn up the heat to medium and let it cook away and reduce down. Take the tray of tomatoes out of the oven and add everything into the pan of onion.

Carefully pour everything into a blender, add the basil (reserves some for garnishing) and whizz to a fairly rustic consistency. Serve in a bowl, optionally topped with freshly grated Parmesan cheese, drizzle of extra virgin olive oil and the reserved basil.

hollandaise

Hollandaise is basically an emulsified butter sauce. It is one of the five sauces of french haute cuisine mother sauce repertoire. The sauce is one the great transformations of butter. Its appearance is light yellow and opaque, smooth and creamy while the taste is rich and buttery. It has a mild tangy acidic taste, a result of added vinegar (or lemon juice substitute) but not too strong to overpower the flavoured dish it accompanies. The sauce is serve warm but not hot and is excellent with beef, poultry, vegetables and fish. Two phases follow: cooking egg yolks and emulsifying the butter. It’s easiest to cook the eggs over simmering water. If you use direct heat, the eggs might be overcook which will results in lumps instead of smooth and silky sauce. After the eggs are airy and hot, you remove the pan from the heat and whisk in melted butter. Some cooks use whole butter and keep the sauce over heat, but I think you have more control using melted butter.
Creating an emulsified sauce using fat(oil/butter) and liquid(water/vinegar/egg) takes time and practise (i personally broke my sauce in the first two attempts) but that shouldn’t hinder anyone to try it. You’ll be rewarded with a wonderful sauce for your patience and once you get it right, you’ll never go wrong again. The chief danger to the emulsion is not having enough water (which includes lemon juice and vinegars). Water content is essential in this sauce is cooked (and thus continuously giving up its water as it vaporizes during the cooking). So the water quantity is critical. When making a hollandaise, I usually keep some water on hand to drizzle in if needed.
The standard ratio for making the sauce is 5:1:1(translates to a weight ratio of approx. 5 parts butter to 1 part yolk and 1 part water). That is, for example, 50 grams yolk and water for every 250 grams of butter. But if you’re making a small batch, just enough to serve 2 like i always do, it by tablespoon measuring, a standard egg yolk is a tablespoon, and ibuse two egg yolks, so that’s two tbsp water and ten tbsp of butter. Remember the ratio and you’re golden whether you’re making large batch or small. After that, it’s all about flavor: seasoning with herbs, aromatics, spices, and acid.

4 teaspoons water

½ teaspoon salt

50g yolks (or 3 large egg yolks)

250g warm clarified butter

2 teaspoons lemon juice, or to taste

First of all, make the clarified butter. Melt the butter in a medium pan over medium heat. Reduce the heat to low and continue to cook the butter. The water will slowly cook off; skim off the white solids that float to the top of the butter that forms on the surface. When the water is cooked off and you’ve skimmed the solids, strain the butter through a fine-mesh strainer to extract any remaining impurities. You should be left with pure yellow butter fat.

Prepare a double-boiler by partly fill a saucepan with water and bribg to a simmer. Bring a bowl and insert in the saucepan (the water shouldn’t touch the bowl), and whisk the yolk and the water continuously. When the yolks have doubled or tripled in volume, remove the double boiler from the burner and begin whisking in the warm clarified butter in a thin stream until it’s all incorporated and the sauce is thick and creamy. If the sauce becomes very thick and shiny, almost as if the water is being squeezed to the surface, or if you sense the sauce is about to break, add a teaspoon of cold water. When the butter is incorporated, taste and add the lemon juice to desire.

Do not be daunted if the sauce breaks, and it will, all you have to do is fix it. Simply get another yolk and a couple of teaspoons of water, warm them a little, and start adding your broken sauce the way you added the butter. You’ll have your sauce back in no time.

pesto

Nothing beats the taste and freshness of a home-made pesto. It it so easy and so universal, you can use it for any purpose and companion for any dish you could think of. Most people associated pesto with pasta and pasta only, when in reality, you can pair pesto with just about everything, roasted chicken, shellfish, bruschetta, fish, veal, steak, roated vegetables, jacket potato or with cheeses such as balls of Mozarella, the list is endless. You can make pesto in a food processor, or traditional pestle or mortar (i can attest that pounding pesto in pestle and mortar over time would results in a firm biceps and triceps!) Toast the pine nut lightly, though some would prefer to do them until they’re colored, which would develop a creaminess taste rather that nutty one.

Serves 4

1/2 a clove or garlic, chopped

salt and freshly ground black pepper

3 handfuls of fresh basil, leaves picked and chopped

a handful of pine nuts, very lightly toasted

a handful of Parmesan cheese

extra virgin olive oil

Pound the garlic with a little pinch of salt and basil in a pestle and mortar, or pulse in a food processor. Add the pine nuts and continue the pounding (or pulsing). Remove the mixture into a bowl and add half of the Parmesan. Stir and add the olive oil – you need just enough to bind the sauce and get it to an oozy consistency. Season to taste with salt and pepper, then add the rest of the Parmesan and pour in some more oil and taste again. The key is getting it right to keep tasting and adding cheese or oil until you have the righ semi-wet but firm mixture. Optionally, you may add a squeeze of lemon juice at the end to have a little bit of acidic taste into the pesto, but it’s not essential.

** To have an authentic Genovese pesto, use pecorino Romano cheese, or Parmigiano-Reggiano instead of Parmesan. These type of hard sheep’s milk cheese, gives out a much strong flavour to the cheese. Unfortunately, both these cheese are considered an indulgence, expensive and such a rare variety that to-date, i have yet to find any grocery store (Tesco, Carrefour, Jusco, Cold-Storage, Isetan, or even Mercato) that actually have these cheese on their shelves.

heavenly mushroom soup

First and foremost, an undeniable fact is that your Campbell’s or Vono’s just-add-hot-water instant cream of mushroom soup would have cost less per can than the whole ingredients needed to prepare this dish. But i promised you, by-god, this soup will outclass that pre-made thrash by miles ahead. Once you’ve tasted home-made mushroom soup, those awful cans of instant mushroom just became a distant memory!

Makes about 2 cups

2 shallots, minced

a pound of mushrooms (shitake, portobello, swiss brown, white button, oyster)

salt and freshly ground black pepper

1/4 lemon

2 tablespoons of butter

a cup of double cream

3 tablespoons of olive oil

extra virgin olive oil (for garnish)

Heat a large saute pan over high heat. Add the oil and swirl it in the pan to coat the bottom. When the oil begins to smoke, stir in the mushrooms, cooking them for 30 seconds. Then add the shallot, and continue cooking for another 30 to 60 seconds. Add three-finger pinch of salt and several grindings of pepper. Season with a squeeze of lemon, and swirl in the butter until it melts. 

Take the pan off the heat, stir in the contents into a saucepan. Add the cream into the saucepan, and bring to simmer over high heat. Reduce heat to low and continue to cook for another 2 minutes. Puree everything in a blender thoroughly, correct the seasoning with salt and pepper. Pass the soup through a fine-mesh strainer into a bowl and serve, topping off with a drizle of extra virgin olive oil.

the most basic: Tomato sauce

Homemade tomato sauce is leagues better that anything you can find in a jar at any grocey store, however fancy the packaging is or how expensive it is. Tomato sauce can be made either using fresh tomatoes or canned peeled plum tomaotes. For this variant i’ll share the simple recipe of using canned tomatoes. The quality of the canned tomatoes is important, but not necessarily the most expensive one. My favourite, and has been forever used is Cirio, an Italian brand that uses the best of San Marzano tomatoes. You can make the sauce fresh every time you wish to use it or in a big batch and store away into the freezer (where they will keep for a couple of months)

First of all, chop 2 cloves of garlic, dice a medium sized red onion, and fry them gently in olive oil over medium heat, adding a three-finger pinch of salt and stirring, until the onion is soft and translucent. Add two cans of the tomatoes, lightly season with salt and freshly ground black pepper and simmer gently for 30 minutes. Break and mush the tomatoes with a spoon (if you break it at the beginning, the sauce will taste bitter), correct the seasoning and add about 4 tbsp of butter. Add a few stalks of basil and serve immediately with your pasta.

Of course there are so many different ways for you to take this sauce forward…

For spicy arrabiatta, start the sauce off by adding a few whole fresh chillies. The chillies will provide some added heat to the sauce. After the sauce has simmered for 15-20 minutes, remove the chillies, chop them up and add back as much to continue bringing the heat into the sauce.

A real crowd-pleaser, and my favourite, is to end the sauce by adding in a nice swig of balsamic vinegar and a handful of grated Parmesan. This variation is fantastic with pasta such as fettuccine, tagliatelle or with grilled meats and fish.

To make a puttanesca, simmer the sauce gently with a handful of good pitted and squashed olives and anchovies. Also by flaking in a tin of tuna, you’d taken the sauce in another different direction.